Two Man Horse
Porduction Week 3 - Interacting, Main Assets and Enemy Design
Developement
Interactions
For the programming side of things wanted to make some actual gameplay elements.
For solving puzzles and interacting with the world we created some objects you can interact with and activate certain things in the vicinity.
We called this the Interactable and Activateable System. In summary, you can interact with an interactable to activate a activateable. You can have multiple interactables to activate one activateable.
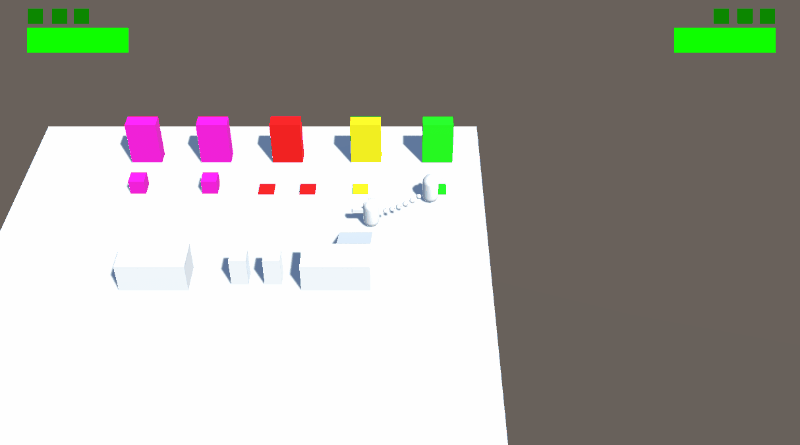
In the gif above you can see mutliple interactables. Green is a normal pressure palte, yellow is timed pressure plate that deactivates itself, red is two timed pressure plates for one door and purple is a switch you have to press a button for to activate.
Enemies
We also started on some enemy behaviour.
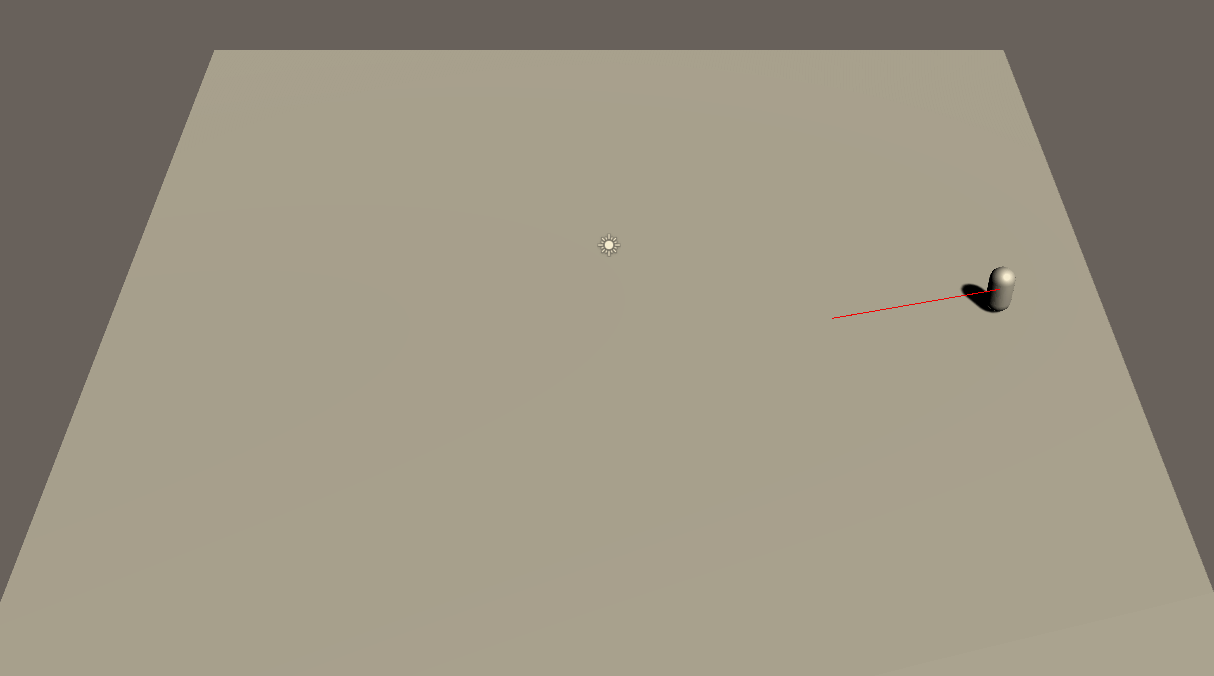
What you see here is a default behaviour which every enemy can use. It's a wander behaviour implemented with a wander circle in front of the agent. The movement direction jitters on this circle to find a good looking random direction.
Dropping items
When playing a game with items you want to be able to choose items so after the inventory that was the next thing to do but not without problems. When testing the drop of an item at the front of the character it spawned the next item in the hand of the rear of the character. Or when a side only had 1 item and it dropped that item, it gave the item back but 3 times.
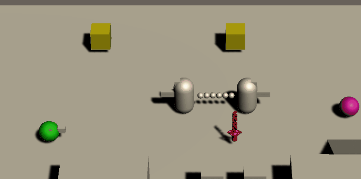
Here you can see an iteration on how to pass an item to the other side of the character.
Art
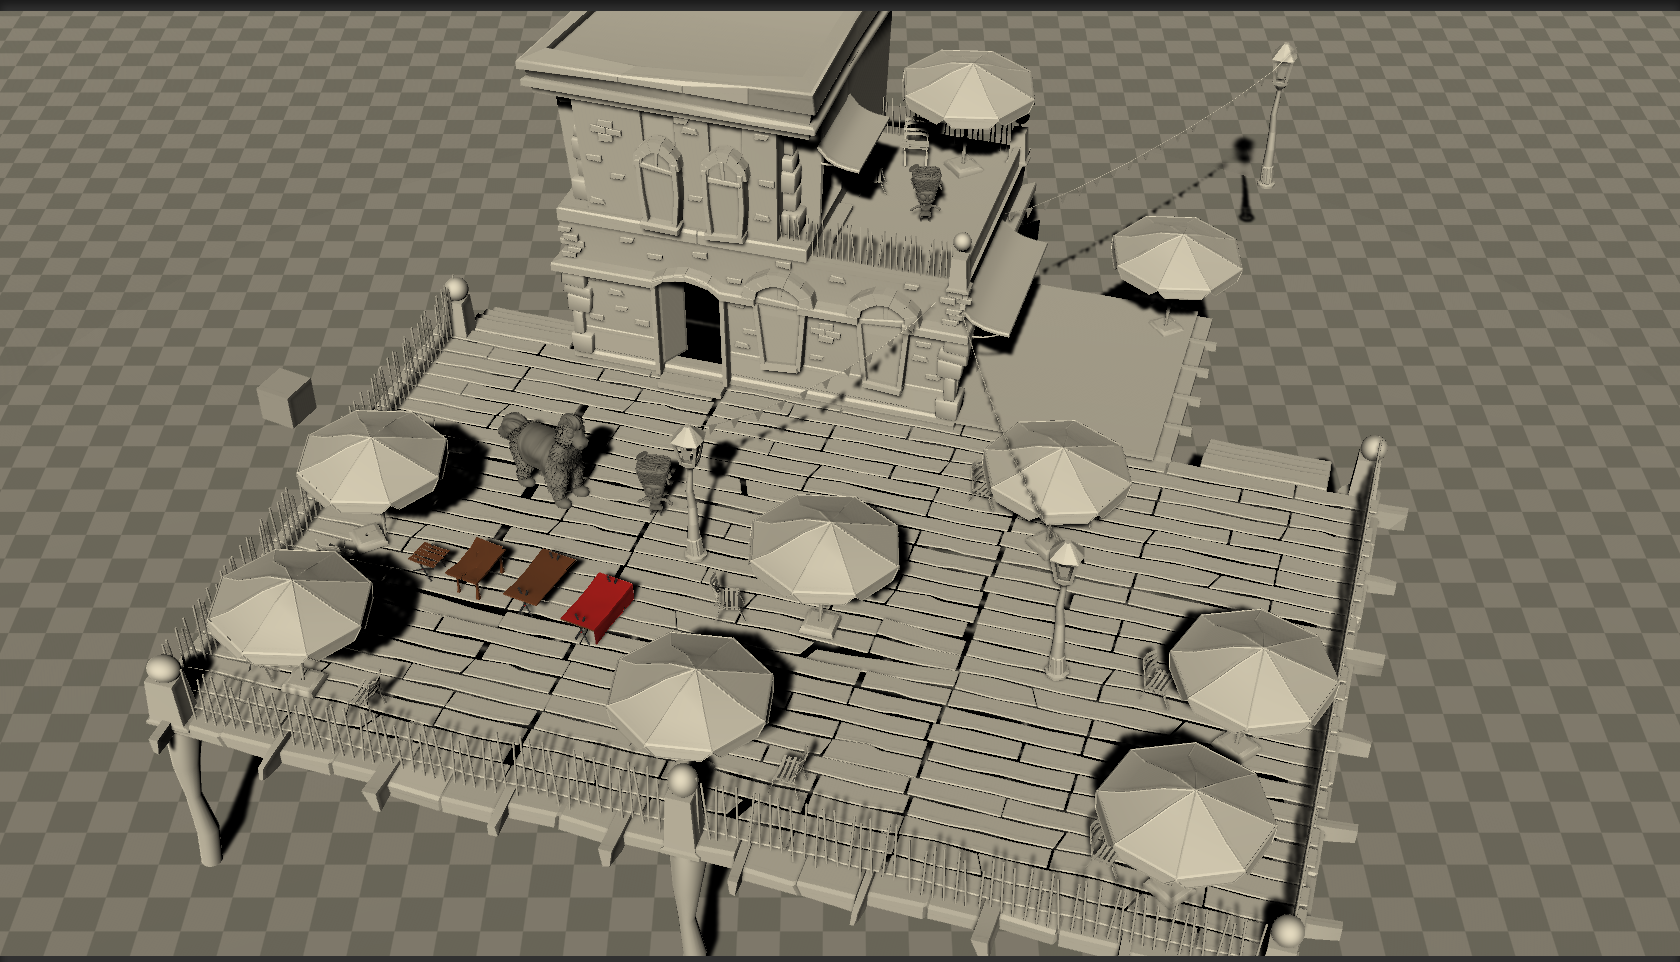
This week we aimed to create our first playable level using the already modeled elements. We started blocking out our landscape based on our final plan from our World Prototyper Machine. We further worked our main character, creating two iterations , which will help us determine some core mechanics regarding gun placement and individual player tasks / capabilities. More assets of the environment are being designed in the mean time, we established our main camera settings and began to place the elements together in one scene to make sure our style is coherent and our meshes are proportionate.
The image above demonstrates our main camera. It is situated at 40 meters height above the ground, and it is rotated at a 40 degree turn downwards on one axis. The field of view is rather low, 25deg. This helps focus detail in the middle of the screen and also removes most of the perspective distortion from the middle, which helps viewing large objects on the screen easier. The FOW must not be too small either as then the scene starts to loose the perspective and becomes too orthographic to the eye. 25 was our sweet spot.
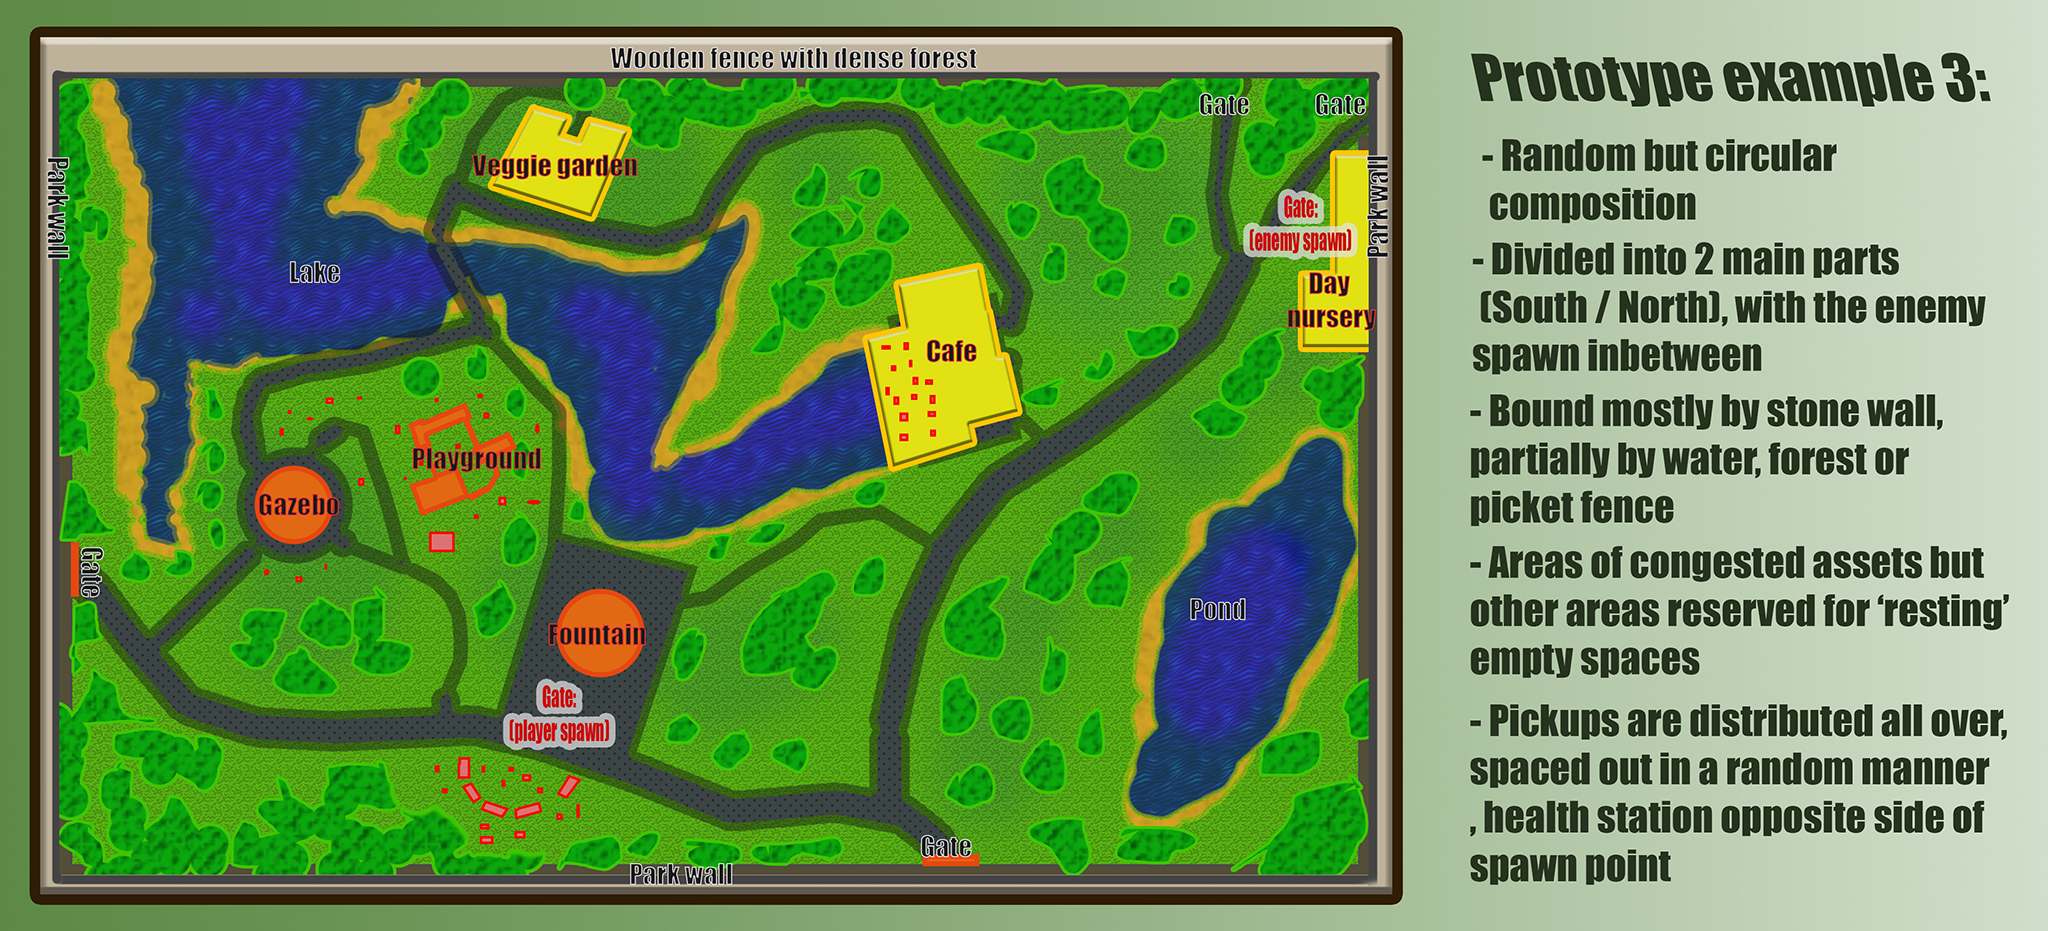
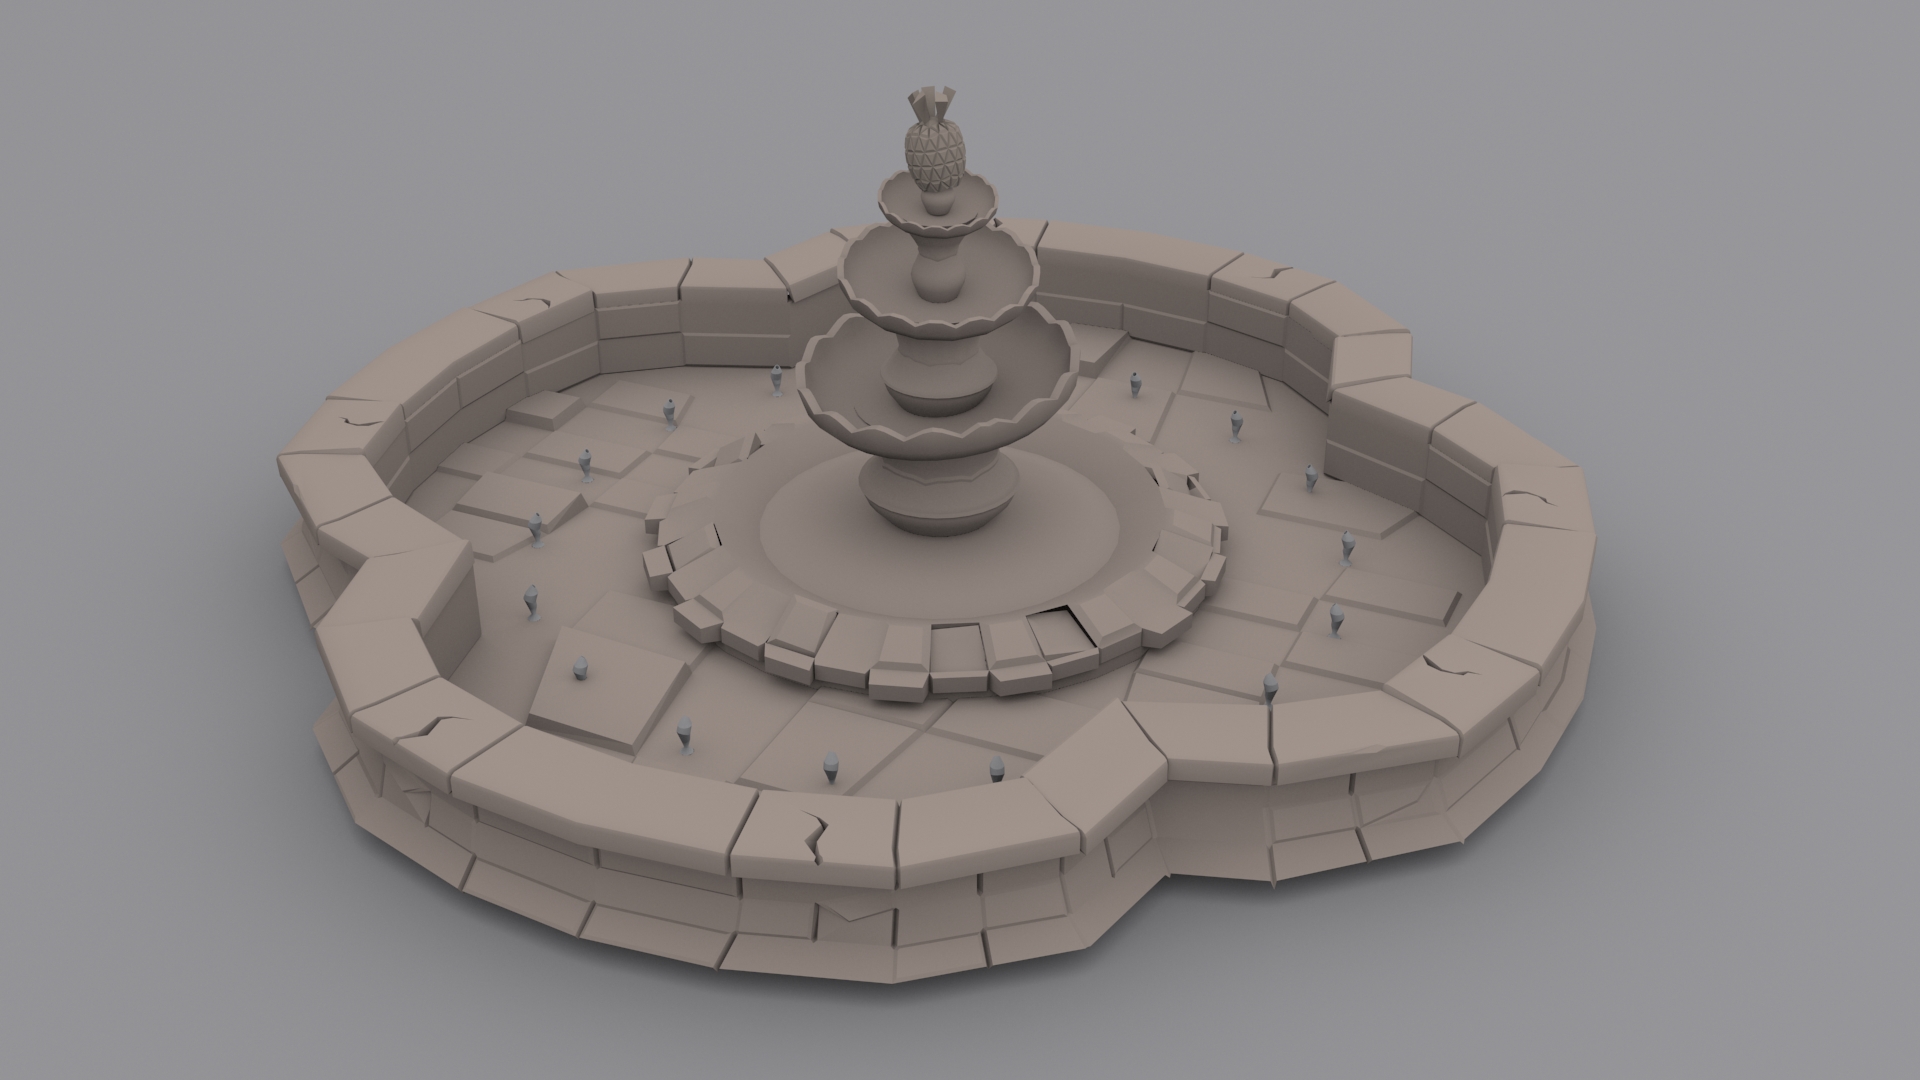
Our final plan for our game level was based off of a fragment of Central Park in New York. We used Google maps to find a nice composition and we loosely based our design on that to achieve a natural composition.
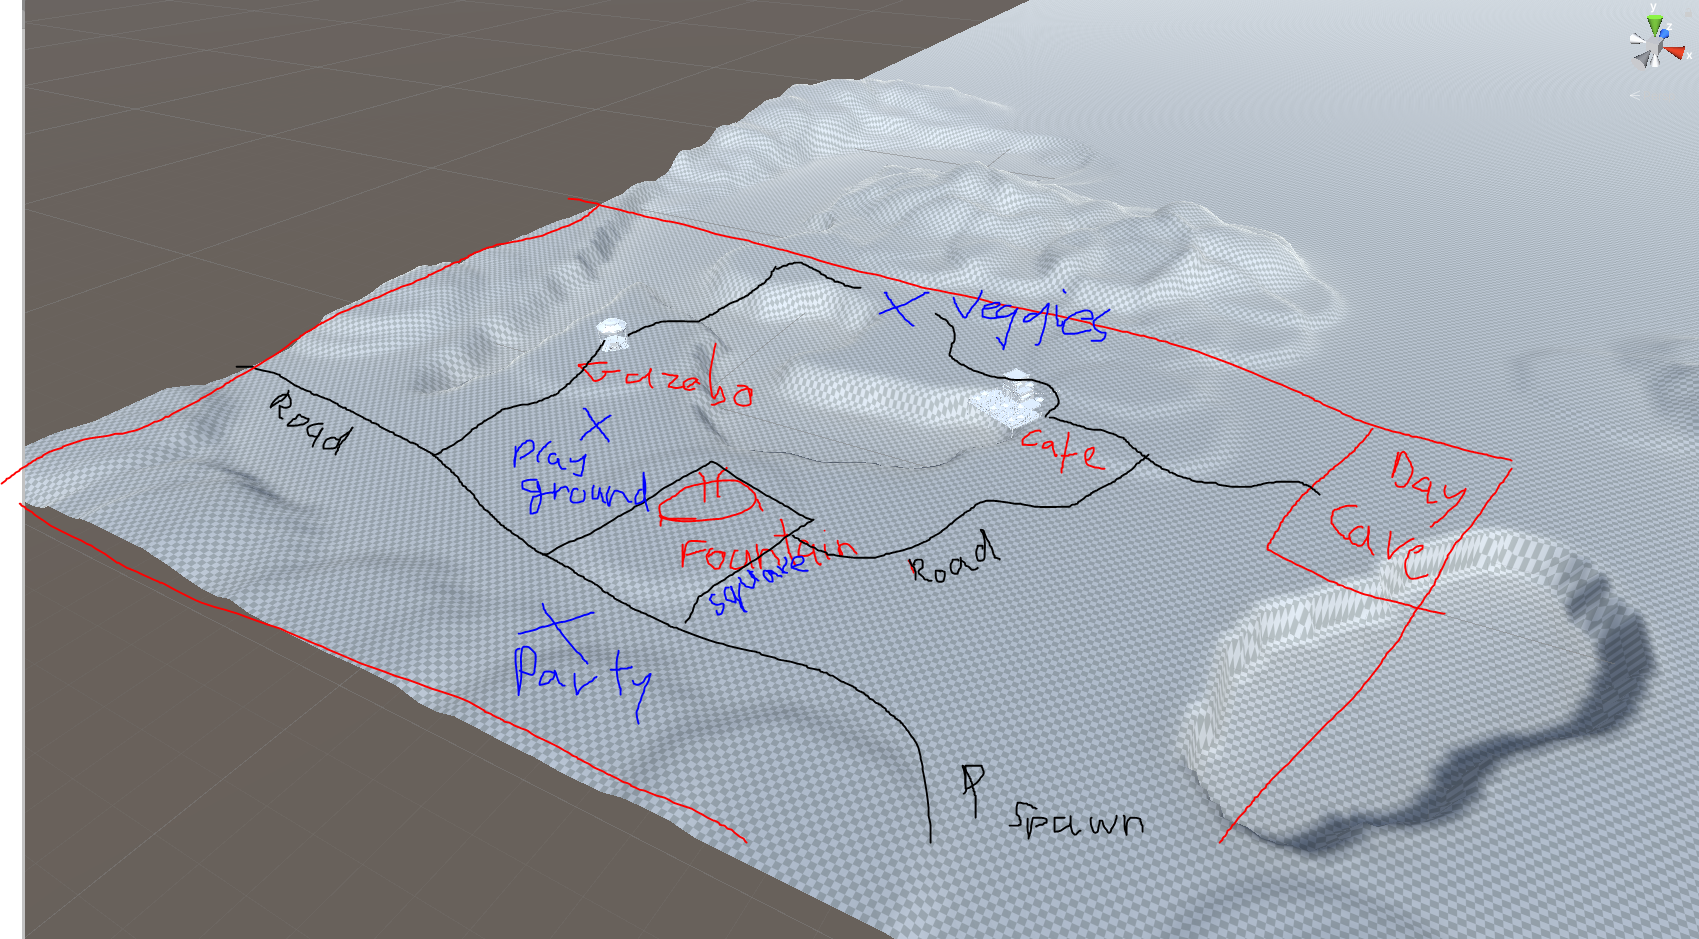
Here you can see a draw over of our landscape blockout. This helps us to visualize the distance between each prop and decide how much detail we need to fill up the play field, and provide a challenging experience. For now we used the built in landscape tool of Unity, which will probably be combined with our static mesh elements for creating the ground plane in later versions of the game.
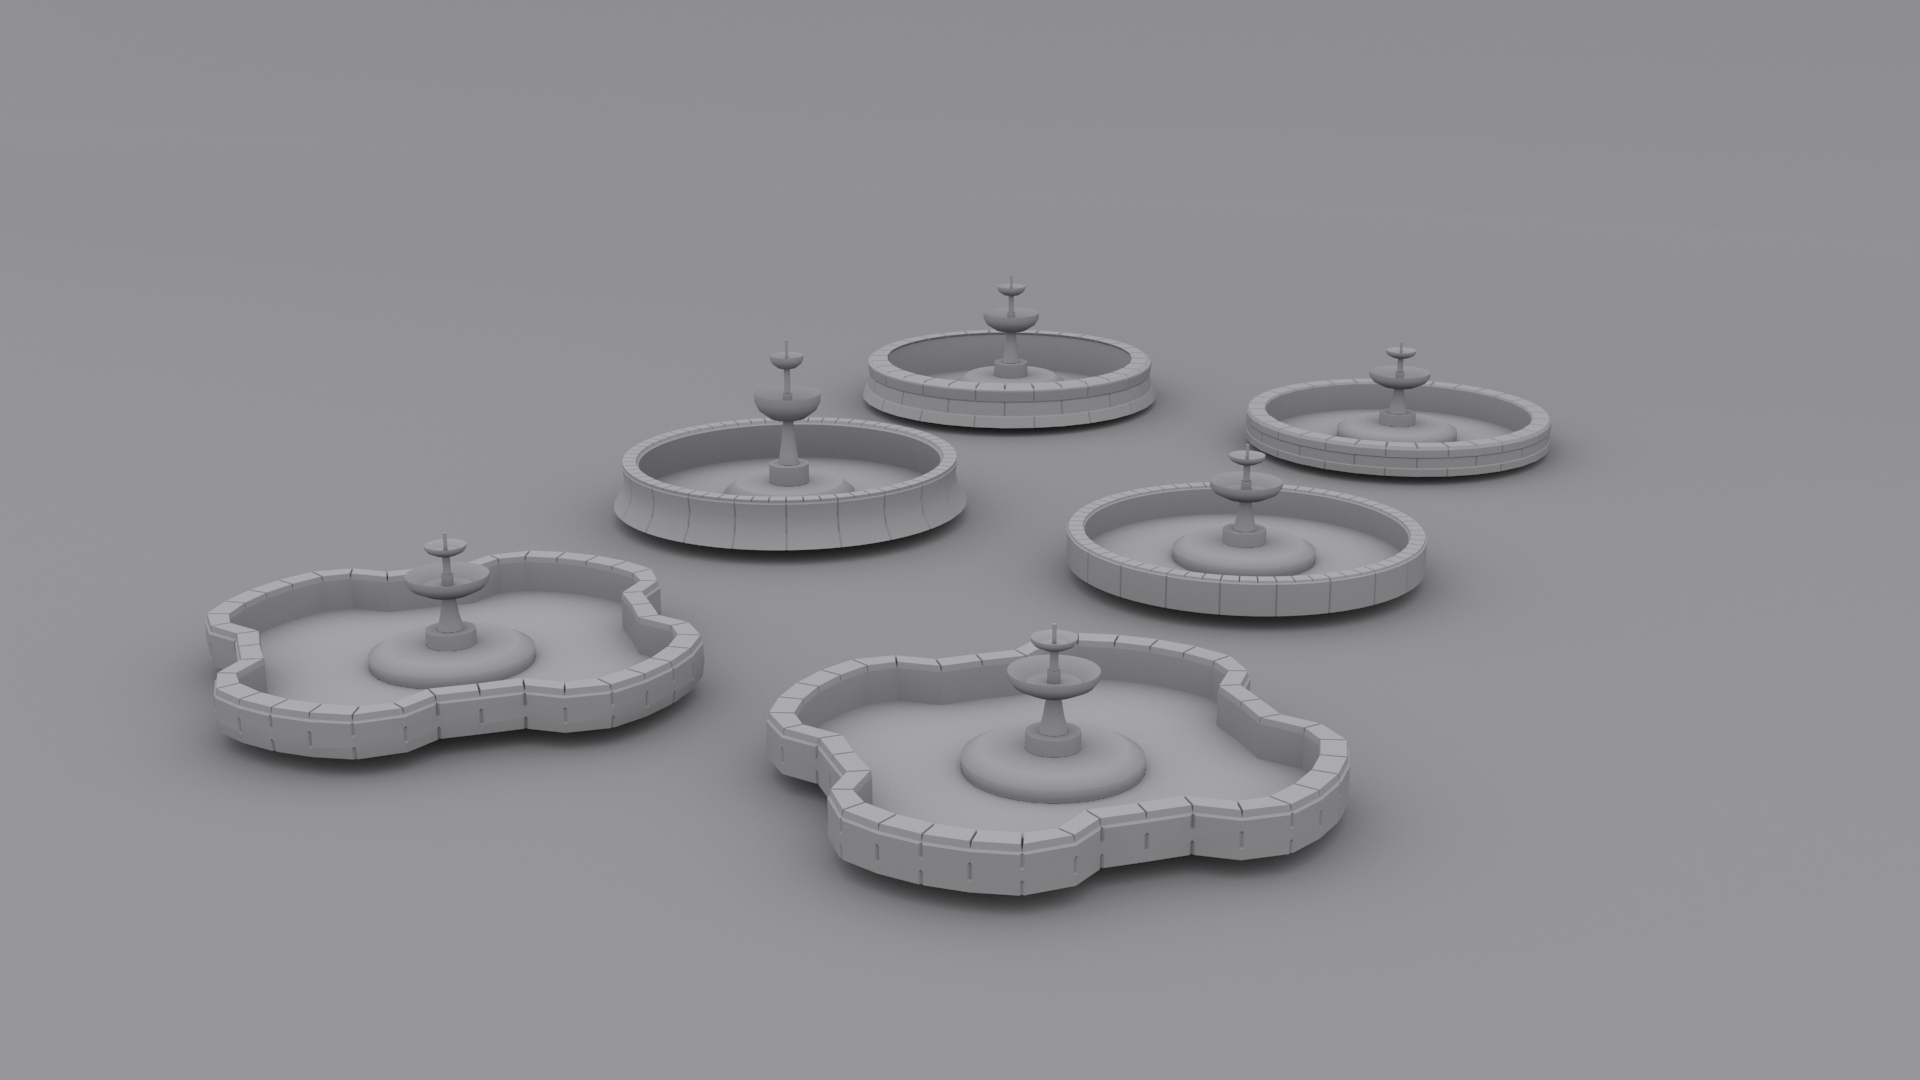
And as always, we are working hard to create our main meshes that will compose our level in our dedicated art style. We always iterate and consult, never get too attached to one design when you have to make something new!
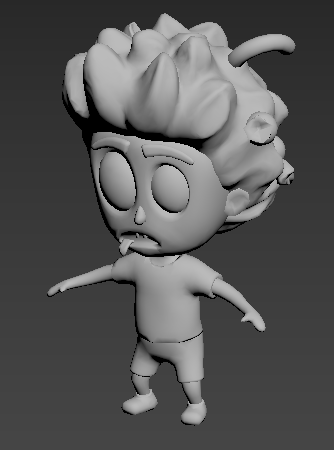
Of course, if the environment is coming along the characters can't stay behind! The first model for the kids has been made.
And last but not least. The final version of our main character is here. The people inside finally managed to poke their hands through the costume and are ready to defend themselves. Rigged and ready for action!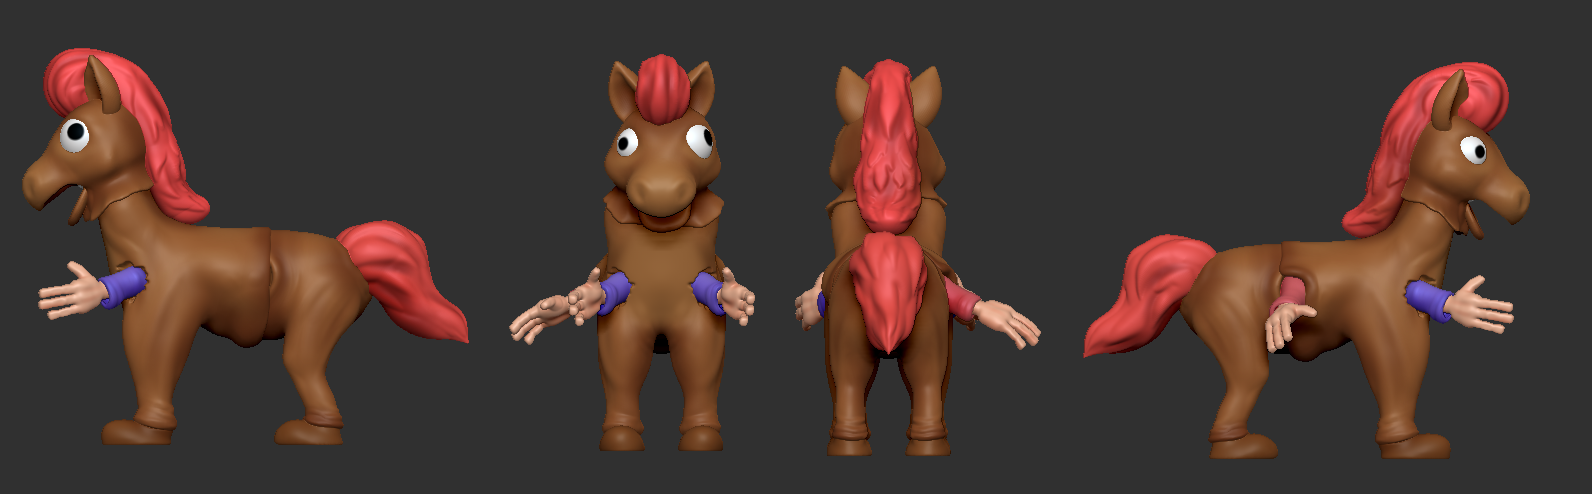
Leave a comment
Log in with itch.io to leave a comment.